Keeping your Arlo base station connected to WiFi is essential for ensuring your security cameras function properly. This detailed guide will walk you through how to connect Arlo base station to WiFi, and complete the setup process, starting from the ground zero.
Things You’ll Need
Before you proceed with the setup process, you’ll need to have the following things ready.
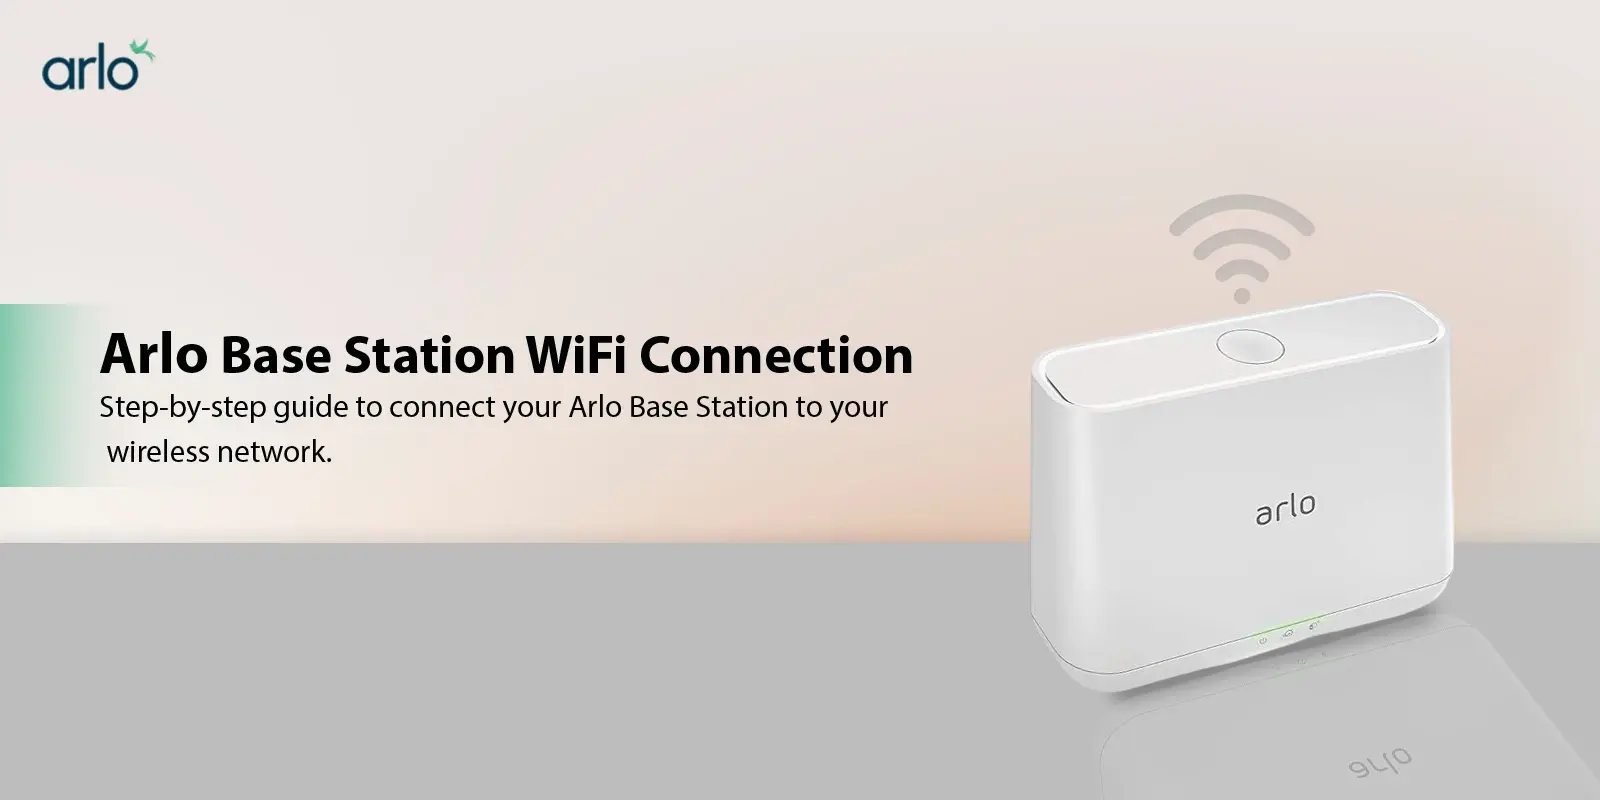
- Your Arlo base station:
This is the central hub that communicates with your Arlo cameras. It’s usually a small box-shaped device with blinking lights on the front to indicate its status.
- Power adapter for the base station:
This provides power to your base station. It is a wall adapter with a cable that plugs into the base station.
- Ethernet cable (provided with your Arlo kit):
This cable looks like a computer network cable with RJ-45 connectors on each end. It’s used to set up a wired connection between your base station and your router.
- Your WiFi router name and password (handy to have them written down):
Your WiFi router broadcasts a wireless signal that your devices connect to. You’ll need the name of this network (SSID) and the password to grant your Arlo base station access.
- Arlo mobile app downloaded on your smartphone or tablet (available for iOS and Android):
The Arlo app is the command center for your Arlo security system. It allows you to view live camera feeds, receive alerts, and manage your system settings.
How to connect Arlo base station to WiFi?
1: Power Up
- Get your Ethernet cable and connect one end to the Ethernet port on your Arlo base station. The Ethernet port is usually a rectangular slot located on the back of the device. It might be labeled “Ethernet” or have a symbol that resembles a computer network.
Note: Don’t plug in the power adapter just yet. This might seem counterintuitive, but for a successful connection, it’s crucial to connect the base station directly to your router with the Ethernet cable first. By following this step, you ensure a stable and reliable initial connection between your base station and the router.
2: Connect to the Router
- Take the other end of the Ethernet cable and plug it into an available Ethernet port on your WiFi router. Most routers have multiple Ethernet ports, so any of them will work. These ports are usually located on the back of the router and are typically labeled with numbers or icons.
- Now you can connect the power adapter to your Arlo base station.
- Plug the power adapter into a nearby electrical outlet and switch it on. Once powered on, the Arlo base station will typically begin its boot-up process, and you might see lights on the front of the device flicker or change color.
3: Let the Base Station Boot Up
- Give your Arlo base station a minute or two to power on and establish a connection with your router. During this process, the base station is communicating with your router and setting up its network settings. You’ll usually see lights on the front of the base station flicker or change color, depending on your specific model. Be patient and avoid interrupting this process by restarting the base station.
4: Download and Launch the Arlo App
- If you haven’t already, download the Arlo app on your smartphone or tablet. Search for “Arlo” in the App Store or Google Play Store and follow the download instructions. The Arlo app is your primary tool for interacting with your Arlo security system.
5: Setting Up Your Arlo Base Station in the App
- Open the Arlo app and create a new account if you’re a first-time user. If you have an existing account, simply log in with your username and password.
- The app will guide you through the setup process. You’ll likely see a prompt to “Add Device” or something similar. Follow the on-screen instructions to select “Base Station/Hub,” indicating you’re adding the central hub of your Arlo system.
- The app will now search for your Arlo base station using the established WiFi connection. This might take a few moments as the app scans your network for the base station.
- Once detected, the app will prompt you to enter your WiFi network name (SSID) and password. Be sure to enter them accurately, paying attention to upper and lowercase letters. Any typos here will prevent your base station from connecting to your WiFi network.
The Arlo app will now complete the connection process. This might involve some additional steps depending on your specific Arlo base station model. However, the app will provide clear instructions throughout, guiding you through any necessary steps to finalize the setup.
Troubleshooting Tips
If you encounter any issues during the connection process, here are some things to check:
- Double-check all cable connections
Ensure that the Ethernet cable is securely plugged into both the Arlo base station and your WiFi router. Verify that the power adapter is firmly connected to the base station and the electrical outlet.
- Confirm your WiFi network credentials
Make sure you’re entering the correct WiFi network name (SSID) and password. These are case-sensitive, so pay attention to upper and lowercase letters.
- Restart your Arlo devices
If you’re still facing issues, try restarting your Arlo base station and WiFi router. Simply unplug them from the power source for about 30 seconds, then plug them back in and wait for them to reboot completely. This can sometimes resolve minor glitches that might be preventing a successful connection.
Connect with Arlo Support, Now!
Arlo offers a comprehensive support section on their website with additional resources and troubleshooting guides. They also have a customer support team you can contact if you need further assistance.
By following these steps and troubleshooting tips, you should be able to connect your Arlo base station to your WiFi network without any problems. Once connected, you can enjoy the peace of mind that comes with a secure and monitored home using your Arlo security camera system.