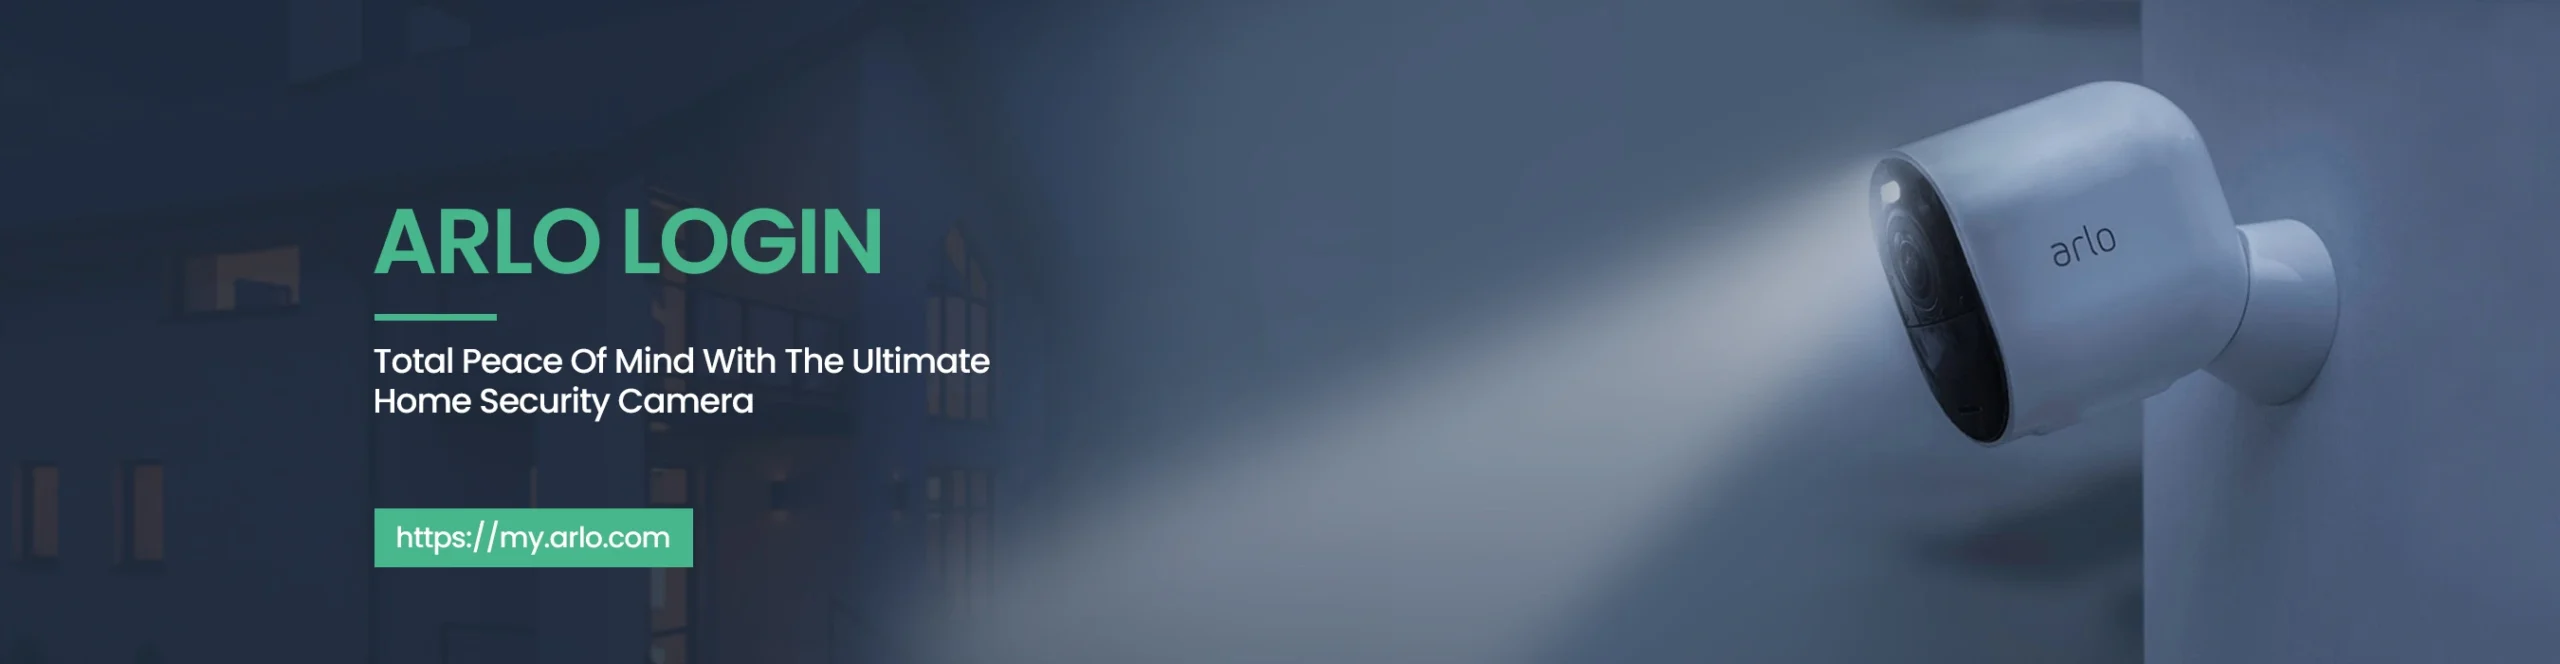
Arlo Setup Made Easy – Camera, Doorbell, and Base Station Configuration
Have you become the new owner of the Arlo security camera and are unsure about how to access and set it up? Don’t panic! You are at the right place! This guide will quickly walk you through the Arlo Camera Setup procedure to harness the maximum potential of your device.
Whether you are a new or an existing user, accessing the Arlo security camera is just a few steps away when you log into your device. Let’s embark on this journey from initial Arlo Security Camera Setup to advanced configuration & troubleshooting the common issues!
Key Considerations Before the Arlo Setup
This means you can save time and avoid a lot of frustration by doing some pre-planning before you begin the physical installation. Here are the main aspects to consider when setting up your Arlo security camera to ensure a flawless Arlo camera setup.
- Make Sure Your Wi-Fi: Indeed, the Arlo camera works mainly on a 2.4 GHz Wi-Fi network. Therefore, ensure that your home router is on the recommended band and you have the network name (SSID) and the password. In case of a combined 2.4/5 GHz network on your router, you might want to turn off the 5 GHz band temporarily to avoid problems connecting to the network.
- Select the best place: Secondly, choose a suitable location to install your Arlo security camera. It is also quite important to choose a location where the camera has minimal interference and receives a sufficiently good Wi-Fi signal. The weak signals may result in delay, loss, and reduction of battery power.
- Charge the Battery: In the case of wire-free Arlo cameras, it is strongly suggested charging the battery all the way through before you start the Arlo camera setup procedure.
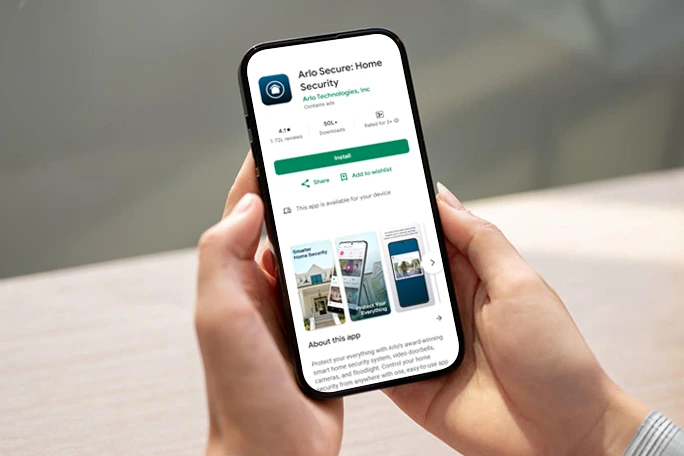
- Install the Arlo Secure App: Most importantly, you must install the latest version of the Arlo Secure app on your smartphone. Make sure your app and smartphone are compatible with each other. This will be able to streamline the app-based setup.
So, these are some essential things you must consider before going ahead. Now, let us walk through the Arlo camera setup process in the next section.
Steps For Arlo Security Camera Setup
There are four main steps that you’ll need to complete the Arlo Pro 3 camera setup process. These are:
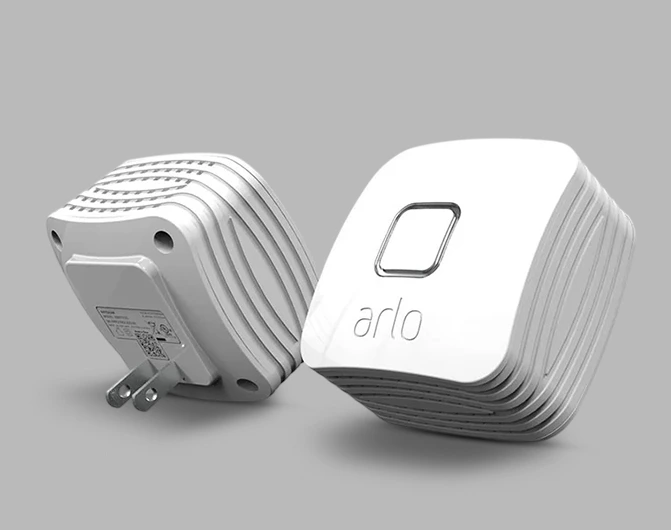
- Firstly, set up the Arlo base station.
- Then, create an Arlo login account.
- Now, set up and sync the Arlo camera.
- Finally, update the Arlo firmware and position it accordingly.
To get started, you will be required to download the Arlo app on your smartphone. The Arlo app lets you set up the Arlo camera easily and helps monitor your property. The app is available both on the Google Play Store and the Apple App Store.
Initializing the Arlo Camera Setup
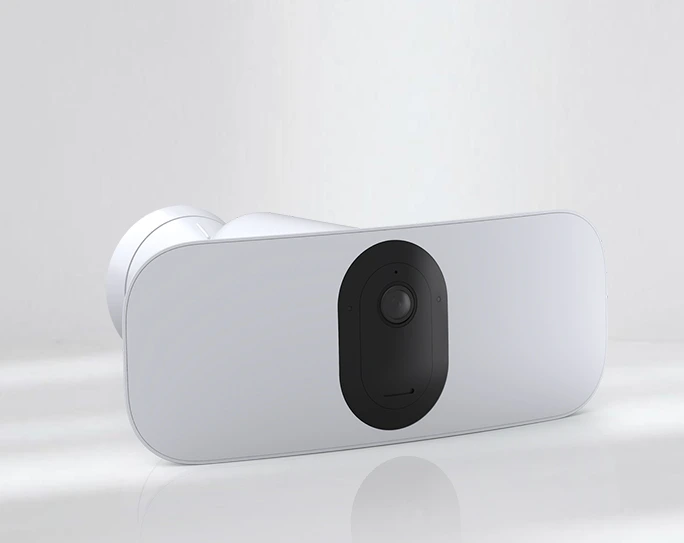
There are two primary methods for setting up an Arlo security camera: directly to your Wi-Fi router or with an Arlo SmartHub or Base Station. In both cases, the process begins with the Arlo Secure App. If you are curious to know How To Setup Arlo Camera in both ways, follow these steps:
Arlo App Setup with the Router
- Initially, make sure your Arlo security camera is powered on.
- Then, install and launch the Arlo Secure App.
- Now, log in using your registered Arlo account details.
- Then, you will reach the home dashboard of the Arlo security camera.
- Tap “Devices” and then the “+” icon.
- Select your camera type and model.
- Next, choose “Connect without SmartHub” and tap “Continue.”
- Ensure your mobile device is connected to a 2.4 GHz Wi-Fi network and enter your network’s SSID and password.
- The app will then guide you through the process of syncing the camera by pressing the sync button on the device and scanning a QR code with the camera.
- Lastly, your Arlo Camera Setup ends here.
Note: You can directly set up your Arlo camera to your Wi-Fi router (for compatible models like Arlo Pro 4, Pro 5S, or Essential).
How To Setup Arlo Camera With the Base Station?
- In the beginning, make sure your camera is powered on or is sufficiently charged.
- Now, install the Arlo Secure app on a compatible smartphone.
- Then, launch the Arlo Secure App and log into your account.
- Tap "Devices" and then the "+" icon to add a new device.
- Next, select "Cameras" and then your specific camera model.
- If a SmartHub or Base Station is not already installed, the app will guide you to set it up by connecting it to your router and power.
- Then, insert the battery into the camera, and the app will begin searching for it.
- Further, make sure the camera is within 3 to 6 feet of the SmartHub during this process.
- Follow the in-app prompts to name and position your camera.
- With this, the Arlo App Setup is finished.
Quick Note: The above Arlo Camera Setup procedures are for the Arlo wired and wire-free cameras.
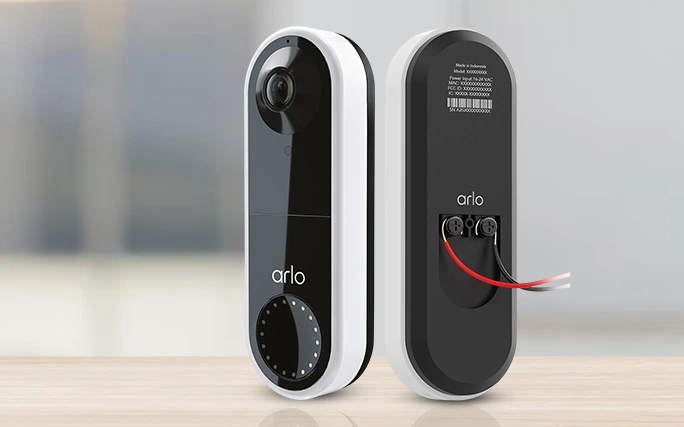
How to Perform the Arlo Doorbell Camera Setup?
Moreover, if you want to set up the Arlo doorbell camera at your home for enhanced security, then you are adding a smart element to your home security. Unlike the traditional Arlo cameras, these cameras offer two-way communication, motion detection, live monitoring, and feeds from the front door. If you own the one, you must follow the following steps to set it up:
- To begin, make sure you have all the requirements.
- Then, charge the camera battery sufficiently and connect your smartphone to the 2.4 GHz network.
- Now, install or update the Arlo Secure app on your smartphone.
- Then, log in to your Arlo account and add your doorbell camera to the app.
- Next, scan the QR code given on the label of your camera and connect to the 2.4 GHz wifi network.
- Further, you can also connect your camera to the wifi network manually by entering the wifi password.
- Then, configure the motion detection and sensitivity settings as per your preferences.
- Now, find a good place to place your camera, near your wifi router.
- Lastly, mount your camera to the chosen location and check the view of the field using the app.
- Now, the Arlo Doorbell Camera Setup is finished, and you can start monitoring your premises.
Arlo Bridge Setup: Step-by-Step Process Explained!
Arlo Bridge is the core component of the Arlo light system and allows you to control it from anywhere through Arlo Cloud. However, to set it up at an optimal location, you must run a “Range Finder” test using the Arlo app so that it works seamlessly with your wifi router. Now, let’s have a quick look at the Arlo Bridge Setup:
- First of all, ensure a preferred location to mount your camera.
- Make sure the Arlo bridge is not plugged directly into an outlet, strip, or extension cord.
- Then, install the bridge in the middle of your Arlo lights.
- Next, open the Arlo Secure app on your smartphone.
- After logging in, tap ‘Add Device’, select your device type “Arlo Security Light”.
- Now, select “Arlo Bridge” and link it with your Arlo account.
- Further, select any wifi network and connect your device to the wifi network.
- Then, go to Settings from the dashboard, and configure the Bridge settings.
- Lastly, follow the on-screen instructions to complete the Arlo Bridge Setup.
Arlo Pro 3 Floodlight Camera Setup
The installation of your Arlo Pro 3 flood light camera is a simple task, which considerably increases the level of your home security through new features. This is a high-power floodlight camera that is both powered and intelligent, so that you can keep track of what happens on your property. Here is a guide to Arlo Pro 3 Floodlight Camera Setup with ease.
- Initially, log in to your Arlo admin account using the Arlo Secure app.
- Next, tap Add New Device> Lights> Floodlight Camera.
- Now, follow the app guidelines to add your camera to your account.
- Further, you can choose “Connect Without SmartHub” or with the Base Station.
- Then, make sure your device is on the 2.4 GHz network.
- Further, return to the Arlo Secure app and enter your WiFi SSID and password.
- Now, insert the battery properly into your security camera.
- After that, separate the Arlo Floodlight and its housing and tap “Continue”.
- When the LED on the front of the Floodlight is blinking blue, tap on “Continue.”
- Keep your QR code four to six inches in line with the camera.
- Tap continue when you hear a chime.
- Now, the app starts detecting your security camera.
- When the camera is found, name it and pair it with your account.
- Then, follow the instructions appearing on the app to complete the further setup.
- Now, position your security camera and tap “Finish” to end the Arlo Pro 3 Floodlight Camera Setup.
My Arlo Camera Setup Has Failed. What Should I Do Now?
Commonly, users remain unable to access and complete the Arlo camera setup due to multiple errors or reasons. Mainly, they get stuck due to wifi connectivity issues, poor connectivity and configuration, incorrect credentials, or technical issues.
However, these errors halt the complete processing and functioning of your camera. Therefore, it is essential to take suitable preventive measures to fix common Arlo Security Camera Setup issues. So, here we outline some expert tips:
- In the beginning, make sure your camera is powered on or is sufficiently charged.
- Then, make sure your phone is on a 2.4 GHz Wi-Fi network and input the correct network details.
- Additionally, enter the correct and registered login credentials.
- Further, verify that your devices are properly synced.
- If sync fails, check the battery and ensure devices are within 3-6 feet.
- Make sure you have a stable internet connection. Otherwise, use the Ethernet cables.
- Next, verify that you have the latest version of the Arlo Secure app.
- If the Arlo security camera setup fails, use the app’s Range Finder feature to ensure the optimal placement.
- Properly sync your Arlo camera with the Base Station.
- Certainly, you should power cycle or reboot your device to fix the temporary issues.
- Then, make sure your device is running on the latest firmware version.
- Verify the camera settings and make sure all the settings are correct.
- If any further issues persist, consider a factory reset of the device.