The Arlo Pro 3 camera is a wireless security camera that can help you obtain 2K resolution video and audio quality. With features like an embedded siren, integrated spotlight for night vision, motion detection, panoramic view for wide video captures, and more, this camera has become a preferred choice for many. If you have recently upgraded to a new Arlo Pro 3 setup, this page will walk you through the complete steps to configure the settings.
Quick Arlo Pro 3 Setup Steps
The setup process for the Arlo Pro 3 is easy. You can start by unboxing the product and placing it linearly. Now, power on the main hub and connect it to the main router using an ethernet cable. Download the Arlo app and follow the on-screen instructions to complete the Arlo installation process. Create an account and add your Arlo camera to it for easy management and access. You can finally connect the camera to the main hub and install the camera in a safe place.
Arlo Pro 3 camera setup- Detailed steps
Download and install the Arlo app on your smartphone. If you are on Android, use the Google Play Store to install the app. If you are on iOS, use the Apple App Store to install the app. Launch the app on your smartphone and install the same. If you use the Arlo app already, make sure it is on the latest version.
- Once downloaded, launch the app and connect to the WiFi network at your home.
- Create an Arlo account using the Create Account link you see. You can also use the default web address my.arlo.com to access the login page.
- Once the login process is complete, select the Add Device option to add your Arlo Pro 3 camera to the account.
Charge your Camera
- Open the cover on the micro-USB port and connect the charging cable to the same.
- Connect the other end of the charging cable to a USB adapter and plug the adapter into a power outlet.
- The battery on your camera will now charge and the LED light on the camera will change to solid blue upon full charge.
Press the Sync button on the bottom of the camera to wake it up. You will see the LED on the camera change to blue. You can now follow the instructions as available in the Arlo app to add your camera to the Arlo account.
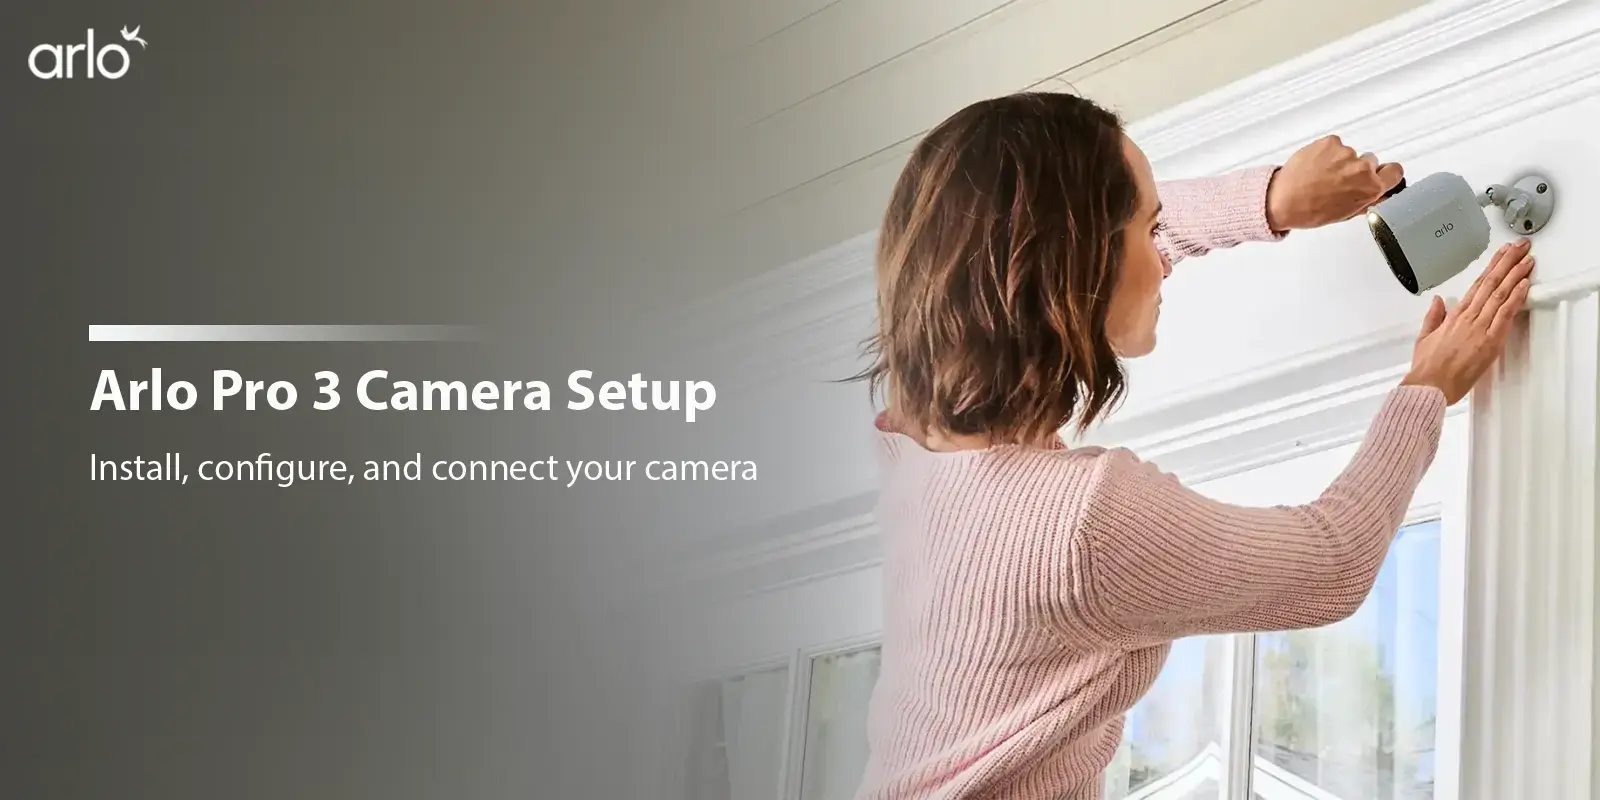
Mount your Camera
Select a location with a clear field of view to install your Arlo Pro 3. This location should be within good signal range of the main router network. The Arlo app will indicate the right spot automatically so you can check the WiFi signal strength.
Once you have found the perfect location, you can use a wall mount to fix your camera in place. Once mounted, adjust the field of view accordingly.
Test Motion Detection
- Launch the Arlo app on your smartphone and open Settings.
- Select My Devices and a list of devices will now appear.
- Select Arlo Pro 3 from the list and tap on the Device Utilities option.
- Again, select the Motion Detection Test and move in front of the camera. Once the camera detected motion, the light on the top of it will turn amber or red.
- Now, you can adjust the slider position as per the motion sensitivity level required. Once you have the settings you want, note the same down and edit the same in the rules section.
Position your Camera
You can mount your Arlo Pro 3 camera and aim it in different ways so as to optimize motion detection. Aim the camera in a way that the motion you want to detect appears in the field of view. You can follow the steps to configure the Camera Positioning settings:
- Launch the Arlo app and open the Settings.
- Select My Devices and then select the Arlo Pro 3 from the list.
- Tap on Device Utilities and tap on the Camera Positioning option.
- Your Arlo Pro 3 will start streaming video and the signal strength bar will indicate the WiFi signal strength.
Arm your Arlo Camera
When your Arlo camera is armed, it can work perfectly. You can control when the camera is armed. Here are steps you can follow:
- Launch the Arlo app and select Modes from the screen.
- Once the Modes screen appears, select Arm All Devices and tap on the Save button.
Once the Arlo camera is in armed mode, you can connect it to the WiFi network at your home to begin recording and saving the video footage to the cloud. You can also use a local storage device on the home base to store the videos.